
With my job requiring the use of PowerPoint to design deck templates for other departments, the struggle can often be achieving the balance between accessibility and visual fidelity. The decks need to look good, but they also need to be easy to use with minimal risk of items being moved or deleted in ways that go against the brand. Inserting images in PowerPoint is easy, as is creating a placeholder shape to insert them into. What becomes a little more cumbersome though is generating a custom shape brand element to fill with your photos — something that can add real impact to your slides.
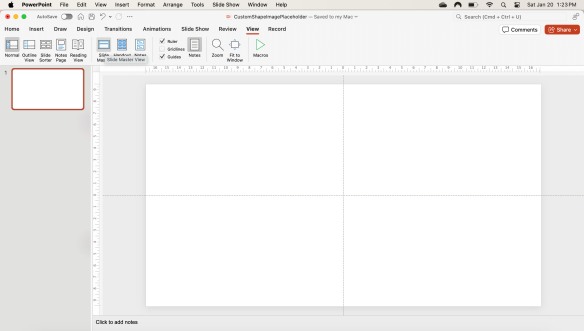
After opening PowerPoint, kudos to my girlfriend for offering up her Mac and Office 365 subscription, you first want to enter the ‘Slide Master View’. This can be located in the View tab at the top.
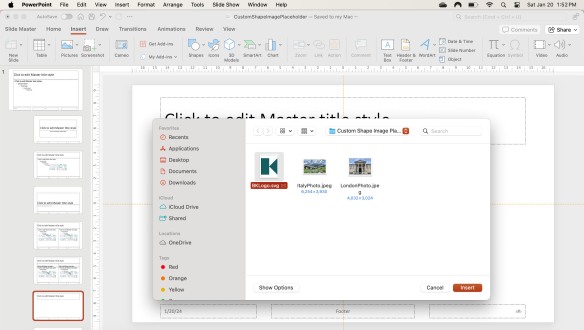
With many options to choose from, select the preset master slide layout on the left that best fits your needs. Opting for a generic header/footer slide, the next step is to insert your shape or logo within which your image will be placed. This can be done via the Insert tab, then selecting ‘Pictures’. Note that this image MUST be SVG format.

With your SVG shape positioned and scaled as desired, enter the Graphics Format tab by selecting the shape and then click ‘Convert to Shape’ on the far left. This will optimise the image for use in PowerPoint.

Now for the good bit — converting your shape to a placeholder. First up, you need to insert a ‘Picture Placeholder’ via the Slide Master tab at the top.

Draw this placeholder so that it slightly overlaps the edge of your graphic. Once happy, click and drag over both with your cursor to select them and under the Shape Format tab on the top-right, click the ‘Merge Shapes’ (overlapping circles) icon on the left beside ‘Text Box’, choosing ‘Intersect’ from the dropdown.

Merging both elements into one, you are now ready to ‘Close Master View’ via the Slide Master tab, and crack on with filling your shape — time to make things pretty!
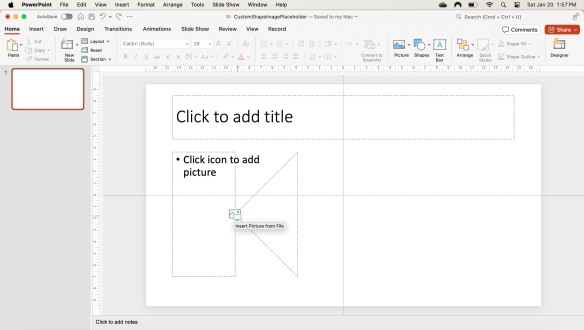
First you need to apply the correct master you worked on to your current slide. This can be done by selecting the slide on the left and then clicking ‘Layout’ just above. From this dropdown locate your placeholder master. With your slide prepped, you are now free to click the icon in the centre of your shape and locate your image of choice.
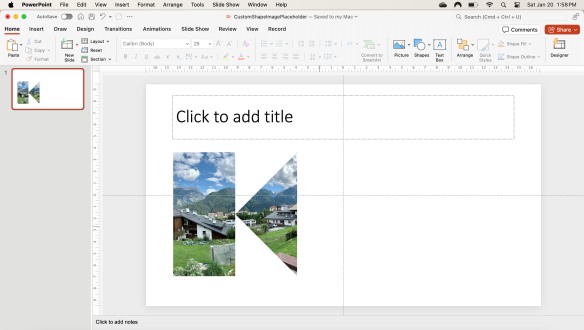
Choosing Italy as my focus since I’ll be travelling there in a couple weeks, as you can see my logo has been filled with a glorious mountainous landscape, the logo acting as a perfect clipping mask for whatever content the end user needs whilst retaining its fixed position, keeping it safe from any pesky meddling.

You must be logged in to post a comment.