
Moving away from InDesign at my current place of work and prioritising Illustrator, there were a number of features that I struggled to replicate initially with Adobe seeing fit to use different commands, locations and methods across their Creative Suite. Text Wrap is one such feature and, though used infrequently, can be useful in providing a little artistic flair to large bodies of type.
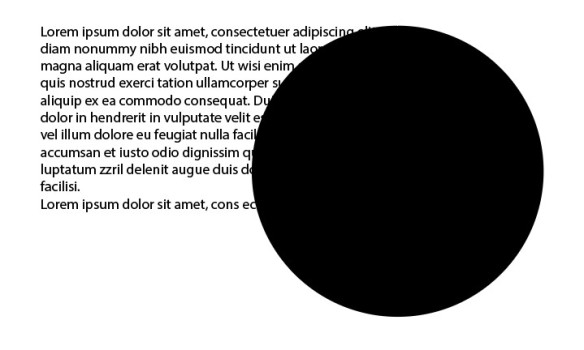
Starting off drawing a standard text box filled with Lorem Ipsum, the next step is to create your desired shape. This can be done with the presets like I’ve done above, or the Pen tool, you just need to make sure they intersect.
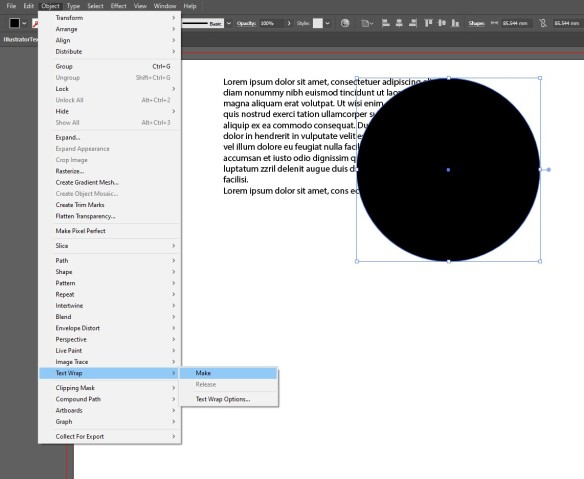
It is the act of applying the text wrapping that I found initially confusing, wanting to locate it within the ‘Type’ menu. Instead what you need to do is first select your shape, and then go to Object > Text Wrap > Make.
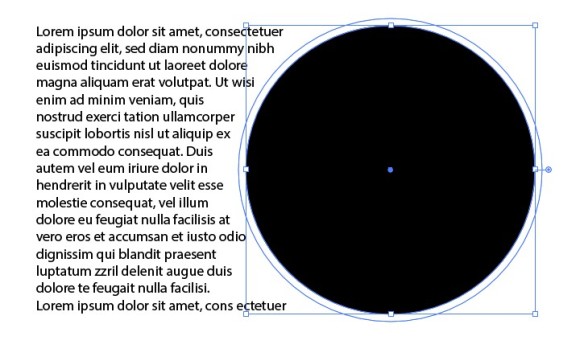
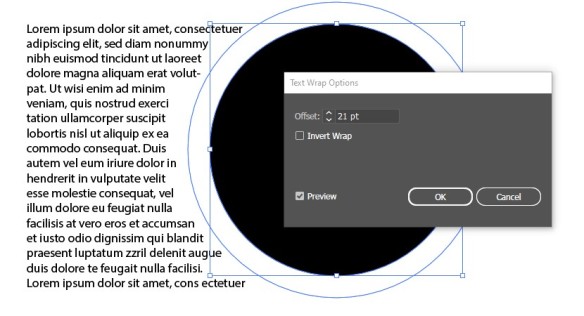
A default text wrapping will be applied to your shape instantly, repelling the text to fit around the edges. At this point you can fine-tune either by adjusting your shape size and location, or by entering the same menu and instead selecting ‘Text Wrap Options…’. From this window you can adjust the offset of the wrap and invert it, each viewable on the fly with the ‘Preview’ tickbox.
And that’s all there is to it. If you want to remove the wrap then you can again enter the same menu and select ‘Release’. Like all techniques, once you know it you won’t forget it, it is just discovering that initial step that can prove troublesome. Well, for me at least.
On a side note, I hope everyone has enjoyed the festive period and I’ll see you again in 2023, Happy New Year!

You must be logged in to post a comment.